In today’s digital age, messaging apps have become an essential part of our daily lives. WhatsApp, in particular, has gained immense popularity due to its user-friendly interface and reliable messaging services. However, with the amount of personal and sensitive information shared on the platform, it’s essential to create a backup of your chats and media files. In this blog post, we’ll guide you through the steps to create a WhatsApp backup, ensuring that your data is safe and secure.
create Whatsapp backup: 8 Steps
Step 1: Open Whatsapp – Open the WhatsApp application on your phone.
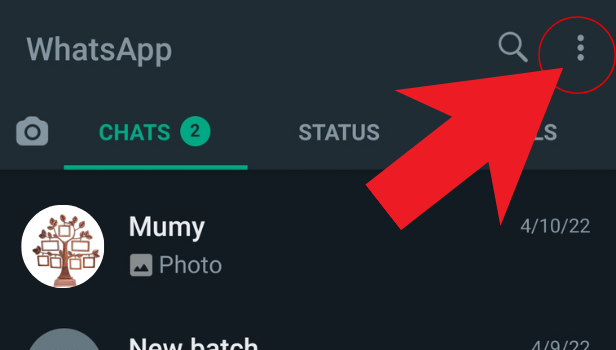
Step 2: Click on the three dots, in the top right corner – Click on the three dots in the top right corner of the screen.
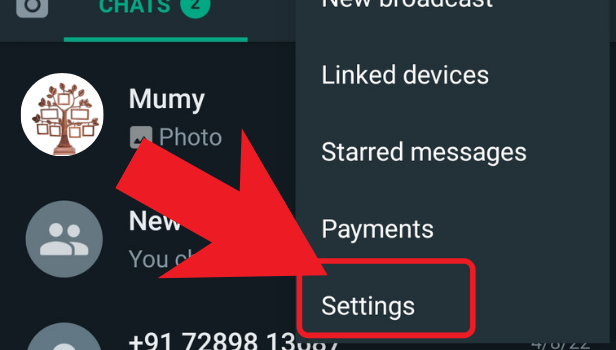
step 3: click on settings – From the drop-down menu, click on the “Settings” option.
- Alternatively, you can access the settings directly from the home screen of WhatsApp by tapping on the “Settings” icon at the bottom right corner of the screen.
- On an iPhone, the three dots are replaced with “Settings” directly, and you can access them by tapping on the gear icon at the bottom right corner of the screen.
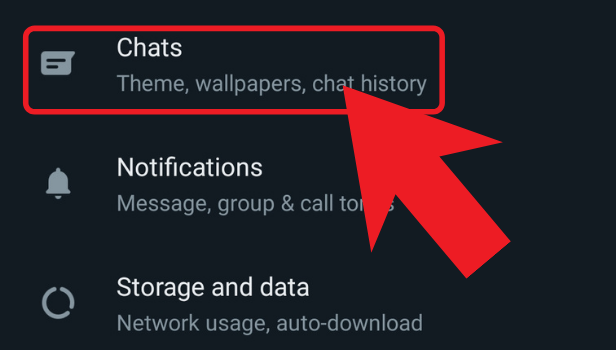
Step 4: Tap on chats – From the settings menu, select the “Chats” option.
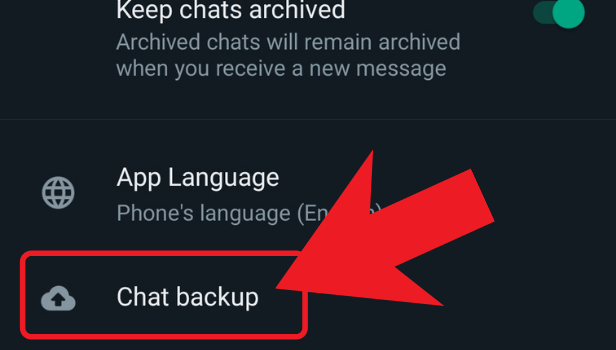
Step 5: Click on chat backup – Click on the “Chat Backup” option.
- If you’re using an iPhone, the option is labeled “Chat Backup” directly in the settings menu, without having to click on anything else.
- Make sure your phone is connected to a stable internet connection before proceeding.
Step 6: Choose an account to create backup – Choose the Google account you want to use for creating the backup.
- Make sure you select the correct Google account, especially if you have multiple accounts signed in.
- If you don’t have a Google account, you can create one by tapping on the “Add Account” button and following the on-screen instructions.

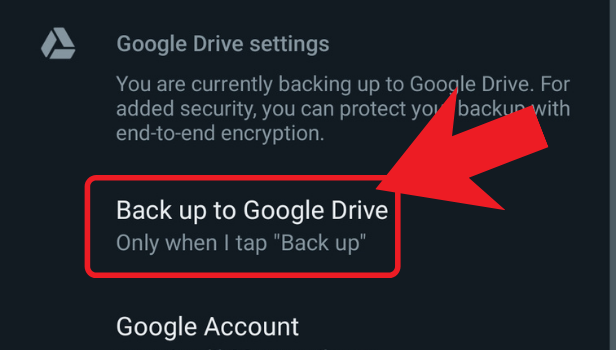
Step 7: Click on back up to google drive – Tap on the “Back up to Google Drive” option and choose the frequency of the backup.
- Choose a backup frequency that suits your needs. You can choose to back up daily, weekly, monthly, or only when you manually back up.
- If you want to back up your media files as well, make sure you check the “Include videos” and “Include photos” options.
Step 8: Select a backup frequency other than never – Finally, select a backup frequency other than “Never.”
- It’s recommended to set up automatic backups to ensure that your data is always backed up regularly.
- If you want to save your backup to a different location, you can choose the “Back up now” option and then select “Save to files” instead of “Back up to Google Drive.”

Creating a WhatsApp backup is a simple and straightforward process that can help you protect your important conversations and media files. By following these easy steps, you can ensure that your data is always safe and secure.
Tips
- Always keep your WhatsApp up-to-date to ensure that you have the latest backup features.
- Make sure you have enough space on your Google Drive account to store your backups.
- If you’re changing your phone, make sure you backup your WhatsApp data before transferring it to your new device.
FAQ
Can I restore my WhatsApp backup on a new phone?
Yes, you can restore your WhatsApp backup on a new phone as long as you use the same phone number and Google account.
How long does it take to create a WhatsApp backup?
The time it takes to create a backup depends on the amount of data you’re backing up and your internet connection speed.
Can I backup my WhatsApp data without Google Drive?
No, currently, Google Drive is the only option for creating a WhatsApp backup.
Will my WhatsApp backup be encrypted?
Yes, your WhatsApp backup will be encrypted, and only you will have access to it.